
How to Configure SendGrid in Icegram Express
MaxAuthenticate your domain and connect SendGrid API in Icegram Express for high-deliverability marketing campaigns to ensure high deliverability and...
SendGrid (Twilio SendGrid) is a trusted cloud-based email delivery service that handles ISP throttling, deliverability reputation, and bounce management at scale.
Part 1: Authenticate Your Sending Domain in SendGrid
Domain authentication proves to email providers that SendGrid has your permission to send emails on behalf of your domain name.
- Log in to your SendGrid account.
- Navigate to Settings > Sender Authentication.
- Under Domain Authentication, click Get Started.
- Choose your DNS host and select whether you want SendGrid to brand links in your emails.
- Enter your domain name.
- SendGrid will provide a set of CNAME records. Add these records to your domain’s DNS manager.
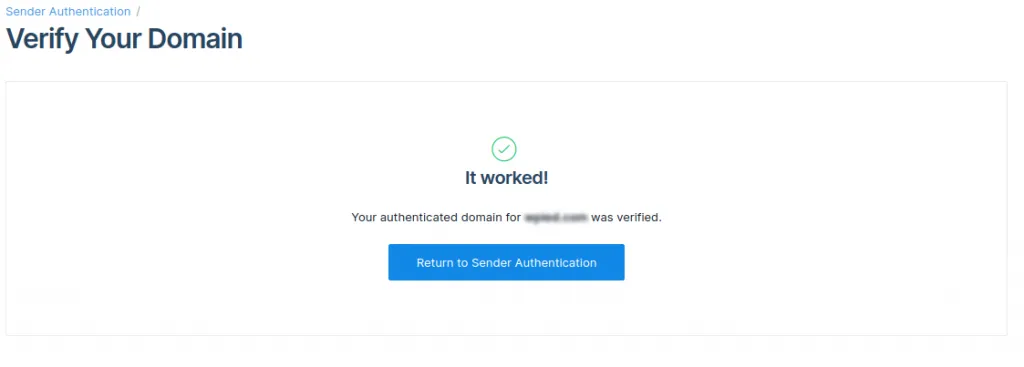
- Return to SendGrid and click Verify.
Part 2: Create a SendGrid API Key
- In the SendGrid dashboard, go to Settings > API Keys.
- Click Create API Key.
- Name your key (e.g.,
Icegram Express Mailer). - Set permissions to Restricted Access and grant Full Access to Mail Send (or select Full Access).
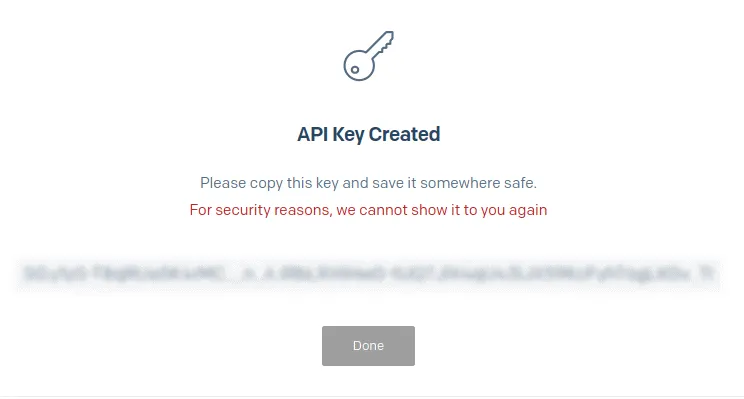
- Click Create & View.
- Copy the generated API key immediately and store it in a secure location.
Part 3: Configure SendGrid in Icegram Express
- In your WordPress admin, go to Icegram Express > Settings > Email Sending.
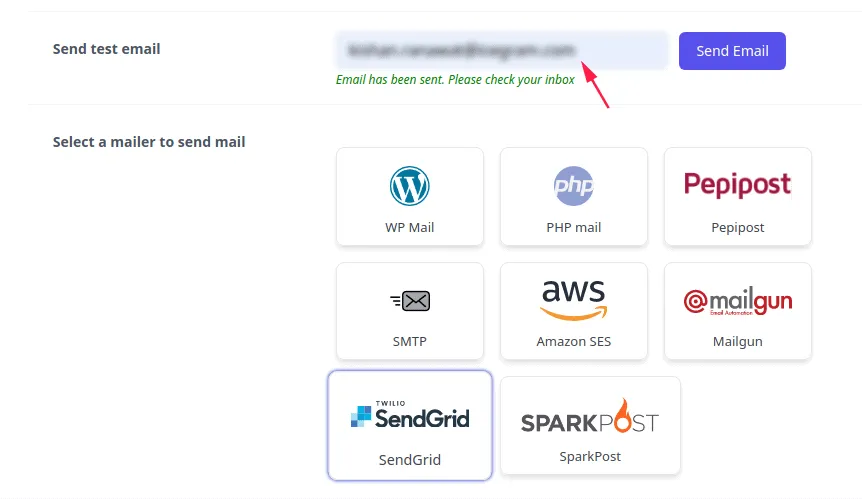
- Scroll to the Select a mailer to send mail section and select SendGrid.
- Paste your SendGrid API Key into the credential field.
- Under Settings > General, verify that your From Email matches the authenticated domain in SendGrid.
- Click Save Settings.
- Use the Send Test Email tool to verify delivery to your inbox.