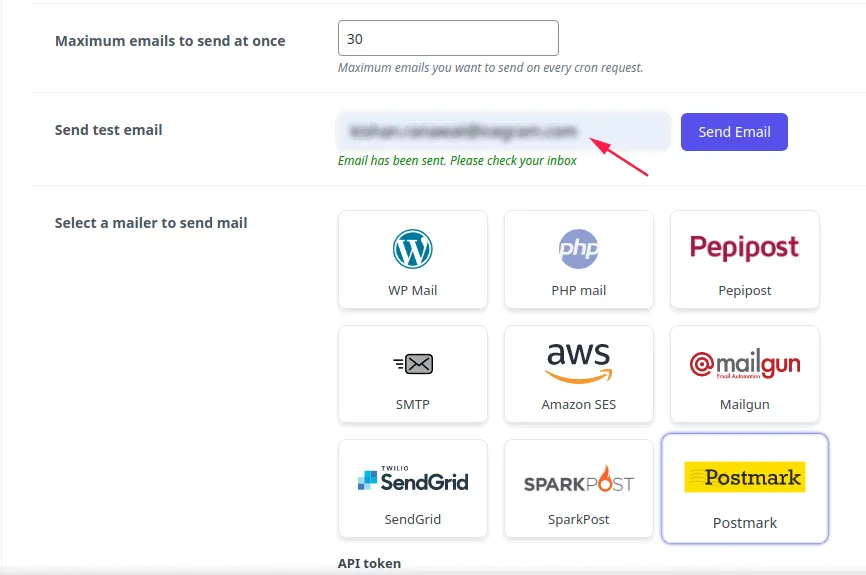

How to Configure Postmark in Icegram Express
MaxSet up Postmark API server tokens in Icegram Express to ensure fast, reliable transactional and newsletter email delivery.
Postmark is an industry-leading email delivery service renowned for fast inbox speeds, pristine sender reputation, and detailed delivery metrics.
Part 1: Verify a Sender Signature in Postmark
- Log in to your Postmark account.
- Navigate to Sender Signatures and click Add Domain or Signature.
- Add the email address or entire domain from which you intend to send emails.
- Check your inbox for the confirmation email and click the verification link.
- In Postmark, confirm that the signature status displays as Verified.
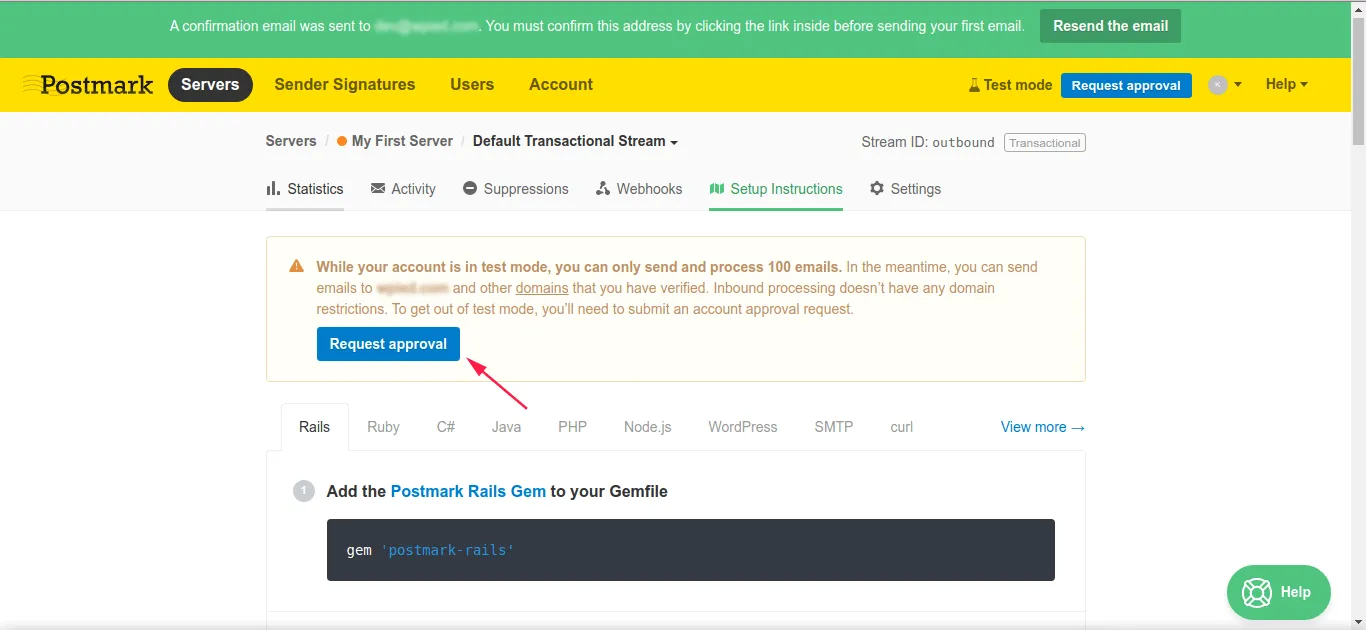
Part 2: Obtain Your Postmark Server API Token
- In Postmark, go to Servers and choose the server designated for your website.
- Switch to the API Tokens tab.
- Copy your Server API Token.
Part 3: Configure Postmark in Icegram Express
-
In your WordPress admin, go to Icegram Express > Settings > Email Sending.
-
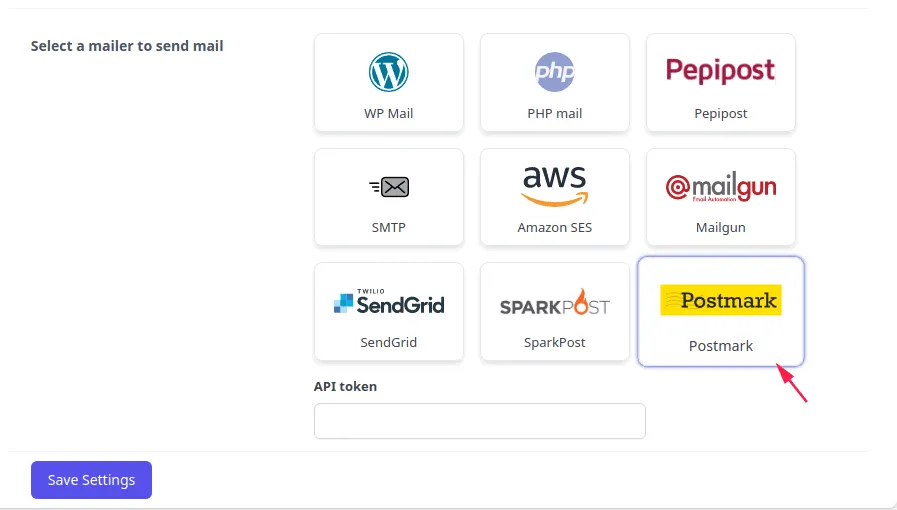
Scroll to the Select a mailer to send mail section and select Postmark.
-
Paste your Postmark Server API Token into the credential field.
-
In Settings > General, make sure your From Email matches the verified sender signature in Postmark.
-
Click Save Settings.
-
Use the Send Test Email section to verify your integration.