

Customize Gallery Templates with CSS in Icegram Engage
Fine-tune colors, margins, Google Fonts, and custom typography across ready-to-use Icegram Engage templates using custom CSS rules.
While all Icegram Engage templates come with pre-designed themes, you can customize any element—including custom Google Fonts, background gradients, and button borders—using custom CSS.
Steps to Add Custom CSS & Fonts
-
In your WordPress dashboard, open your campaign and select the message you wish to customize.
-
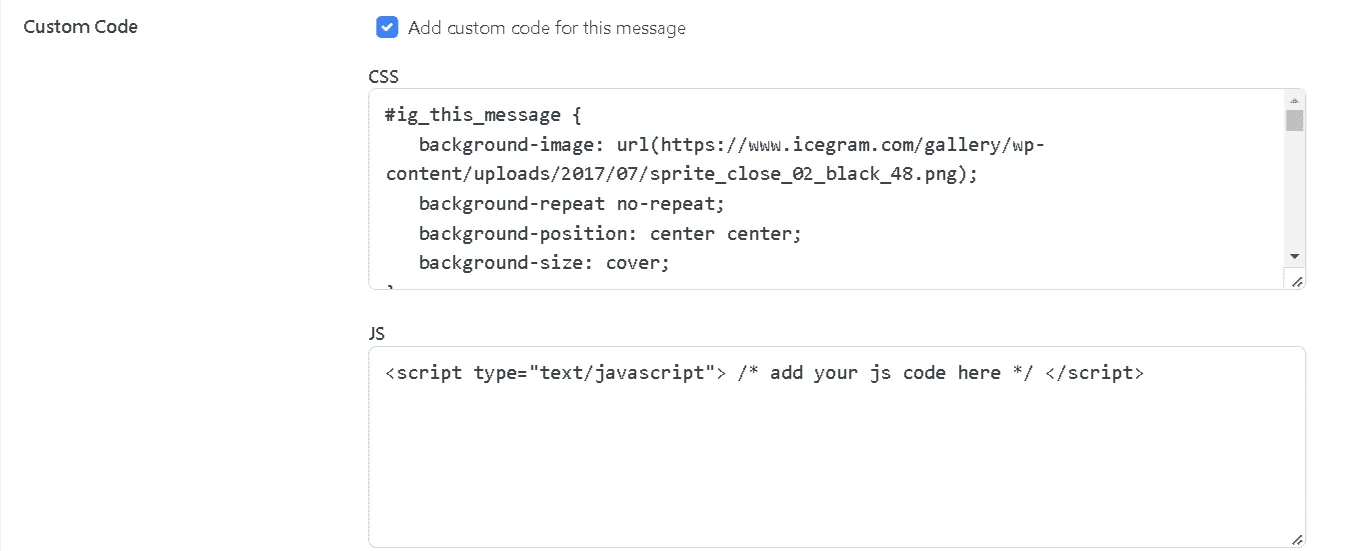
Scroll down to the Custom Code section at the bottom of the message configuration panel.
-
To change background colors, borders, or padding, add CSS targeting the message class:
.icegram_message {
  background-color: #f7f9fc !important;
  border-radius: 12px !important;
}
-
Using Google Fonts: To apply a custom Google Font, copy the
@importrule from Google Fonts into the Custom CSS box:@import url('https://fonts.googleapis.com/css2?family=Poppins:wght@400;600&display=swap'); .icegram_message, .icegram_message .message_header { font-family: 'Poppins', sans-serif !important; }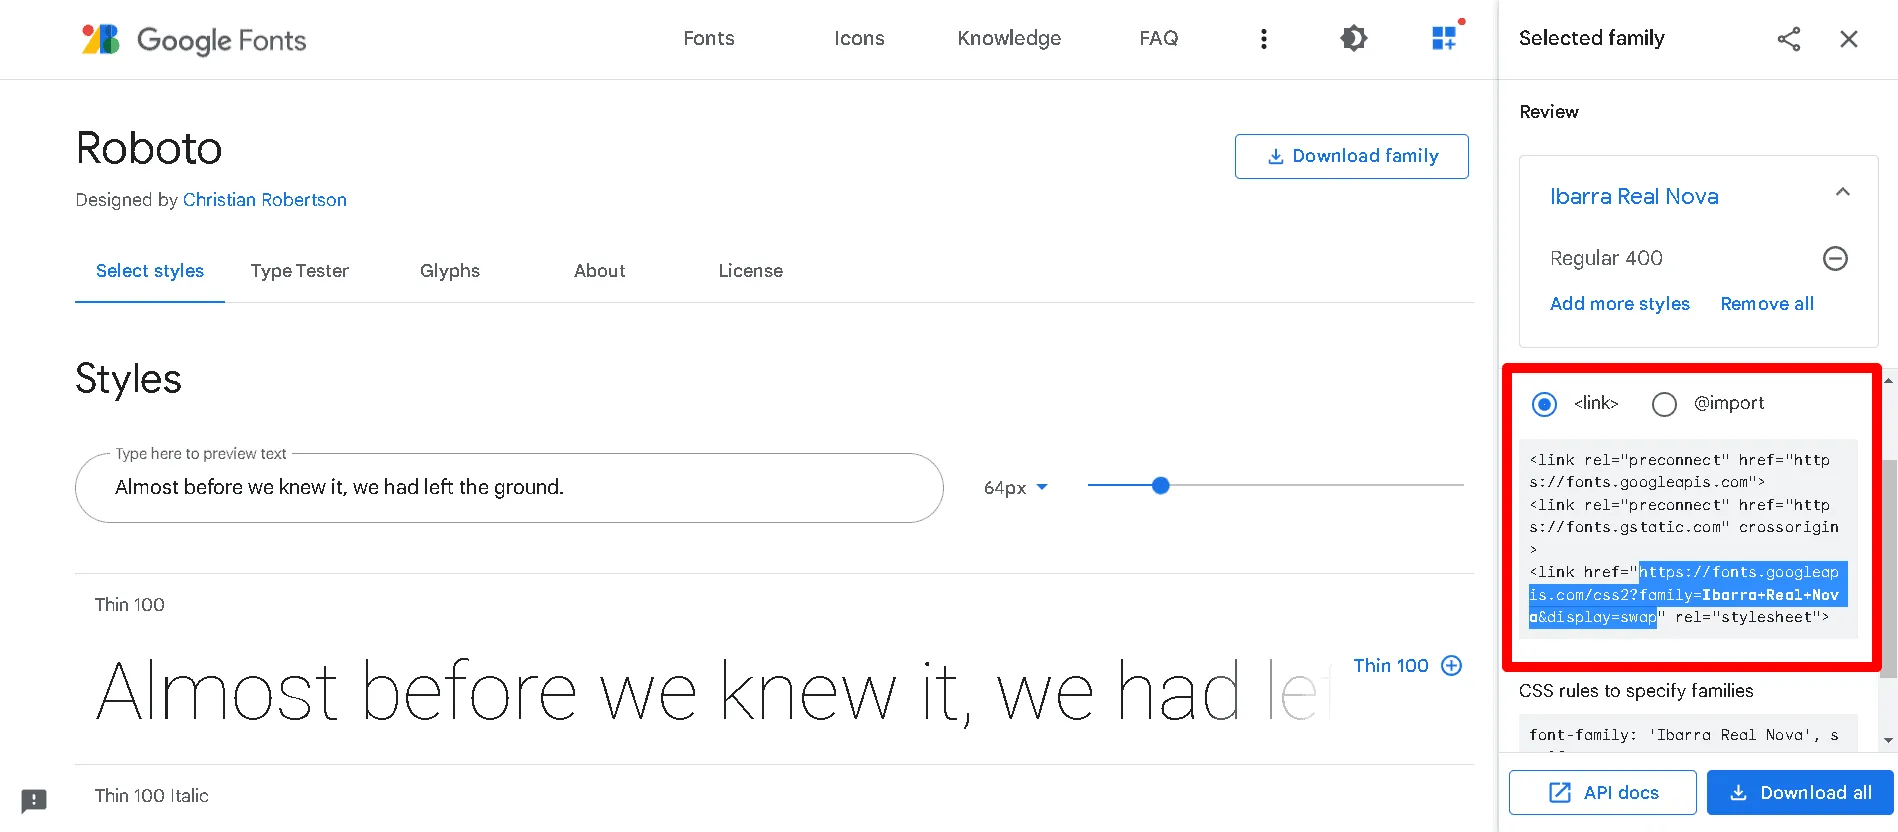
If you want to link self-hosted fonts, instead of
@importrules, you can paste the actual CSS for the font families as well.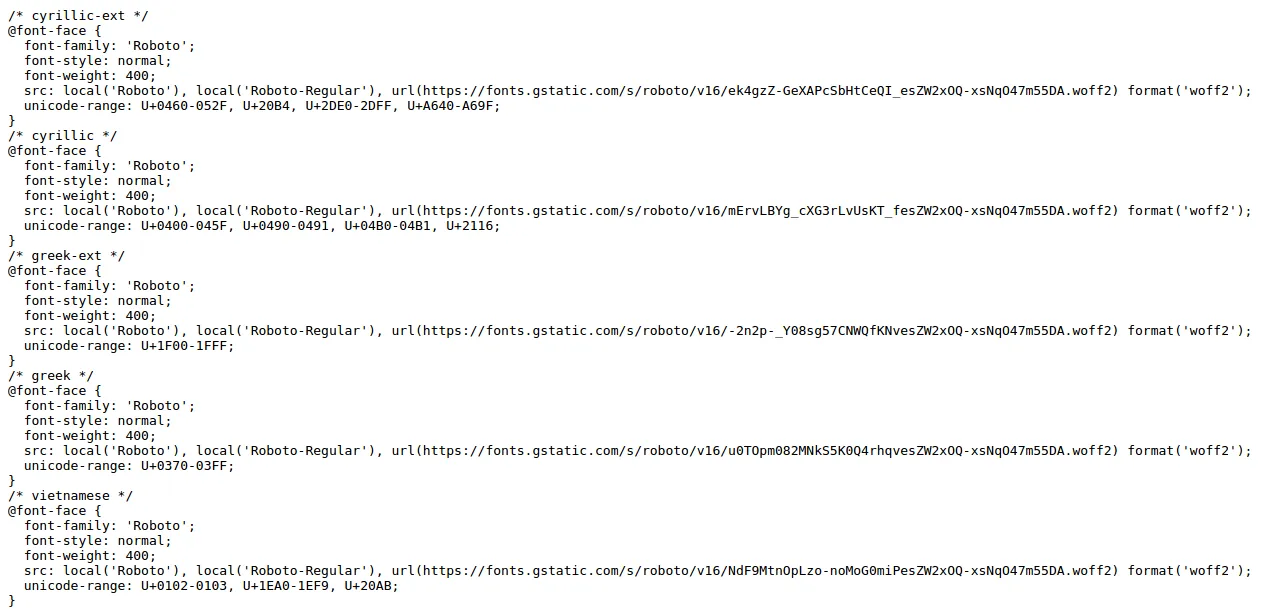
Paste font import and typography rules in Custom CSS box -
Save your campaign and preview the updated styling on your site.