How to Use Icegram Mailer Plugin for Sending Emails in WordPress
Follow these steps to get started with Icegram Mailer and ensure reliable email delivery from your WordPress site
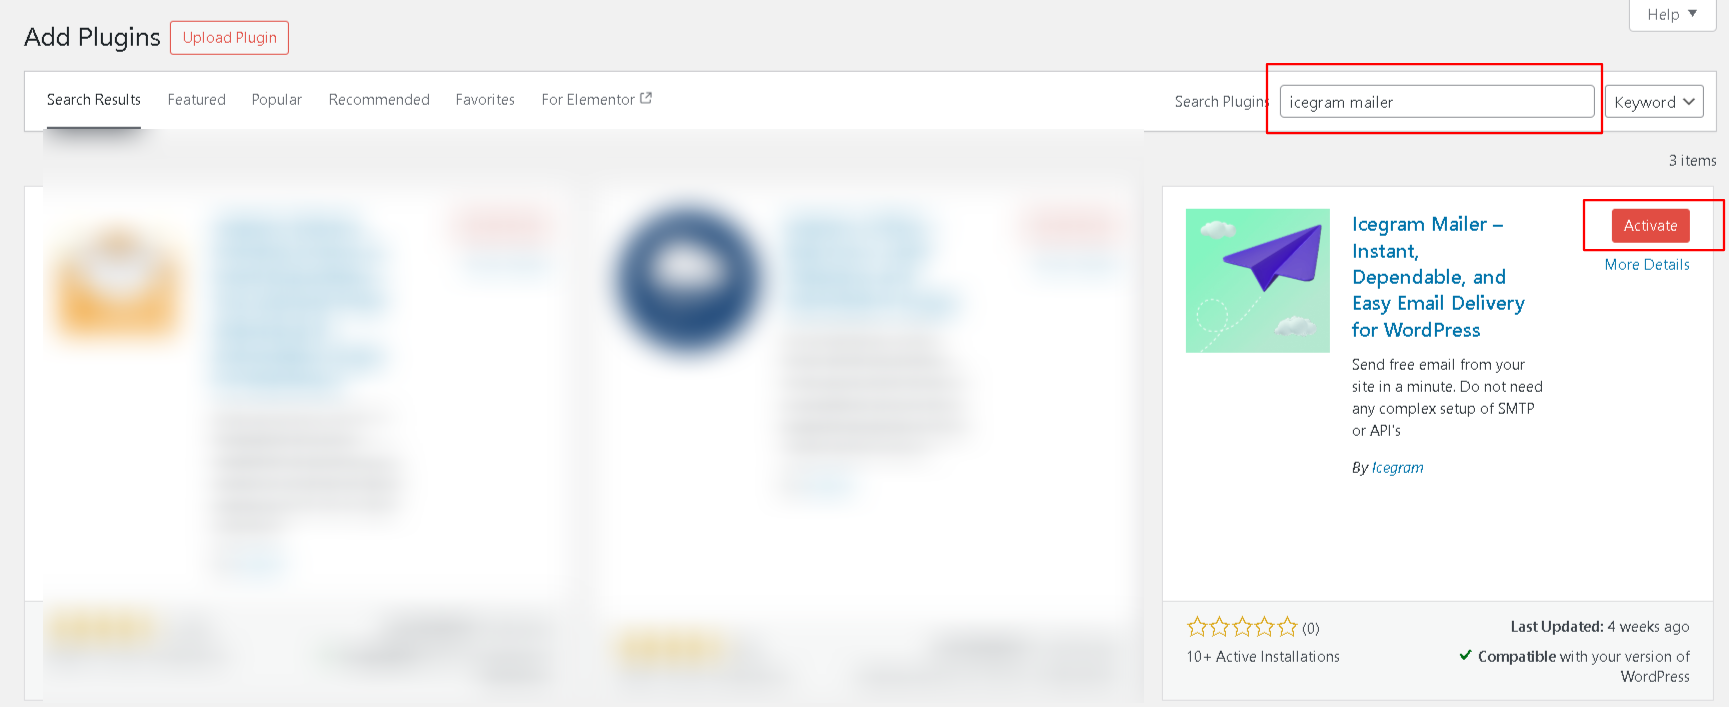
- Log in to your WordPress Dashboard and go to
Plugins > Add New. - Search for Icegram Mailer, click Install Now, and then
Activatethe plugin.
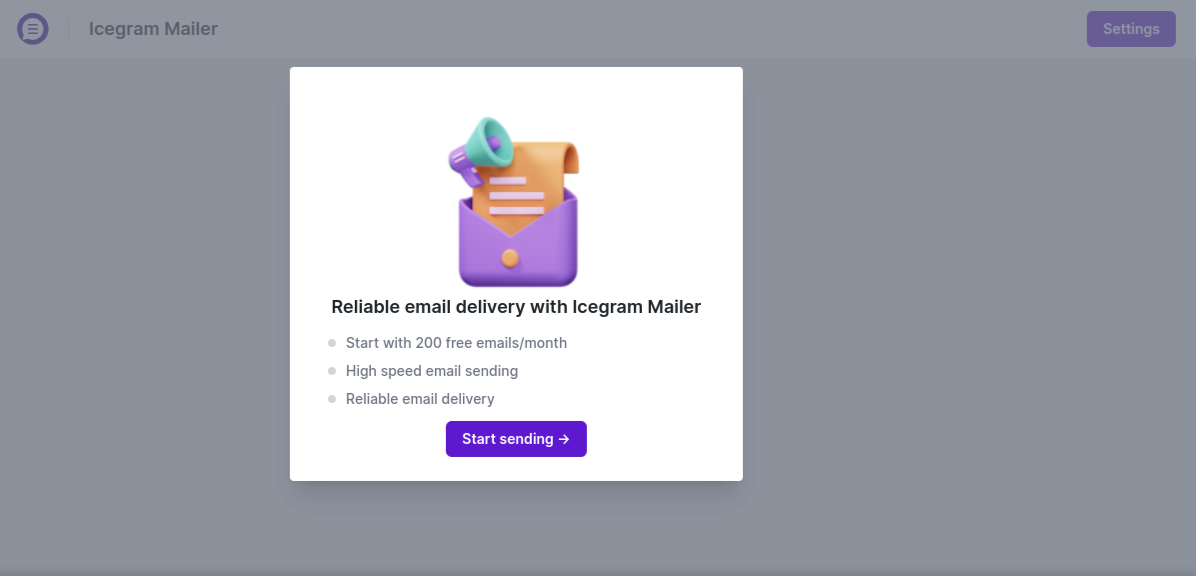
- Once activated, you can Navigate
Dashboard > Icegram Maileryou will see a popup or notice asking to set up Icegram Mailer. Click on theStart Sendingbutton to begin. This will automatically create your free Icegram Mailer account and activate your service.
- Go to
Icegram Mailer > Settingsfrom the Dashboad.
- By default, Icegram Mailer is
enabled.` You can disable it if you don’t wish to use it, but for this setup, we’ll keep it enabled.. - Add your
Sender NameandSender Email Address. - Enable
Open Trackingto monitor email performance (Optional).
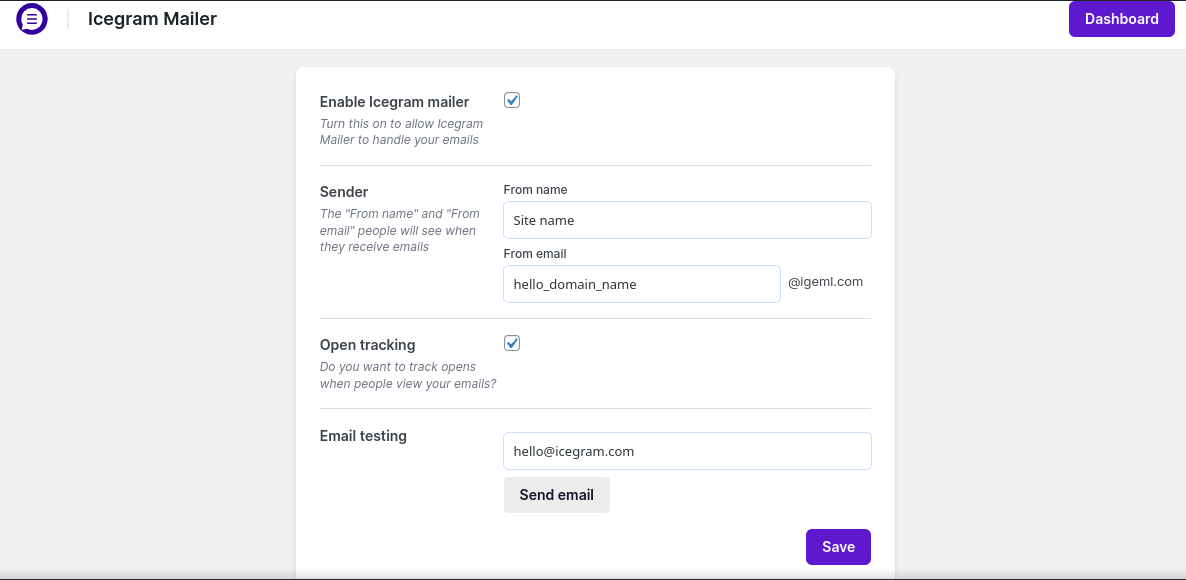
- Click
Saveonce done.
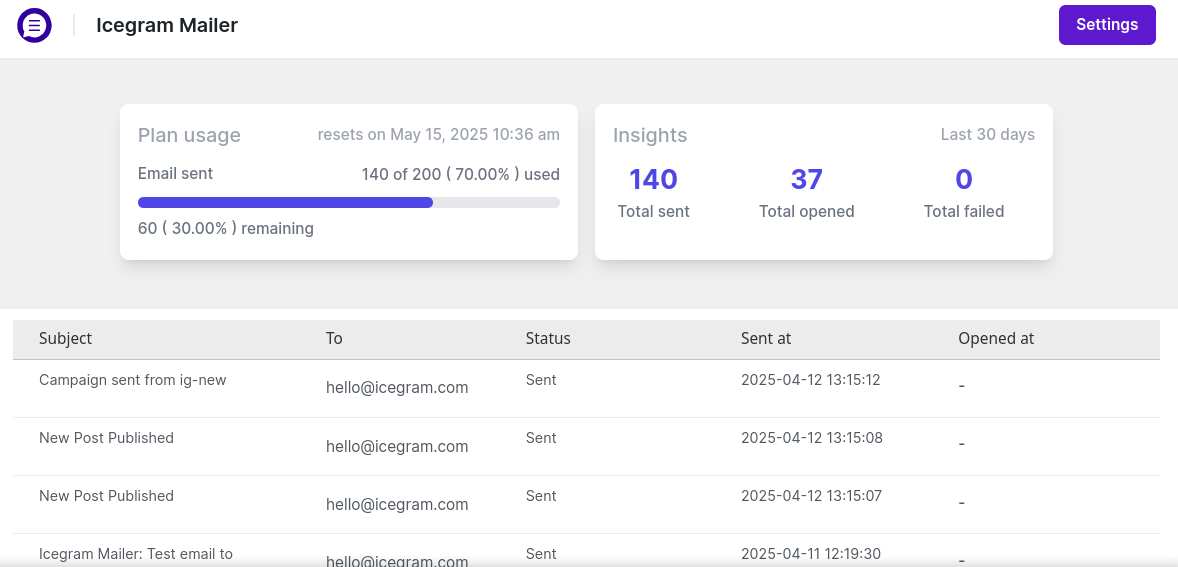
- You’ll get a free limit of 200 emails per month. If you need more, you can upgrade your email limit anytime.
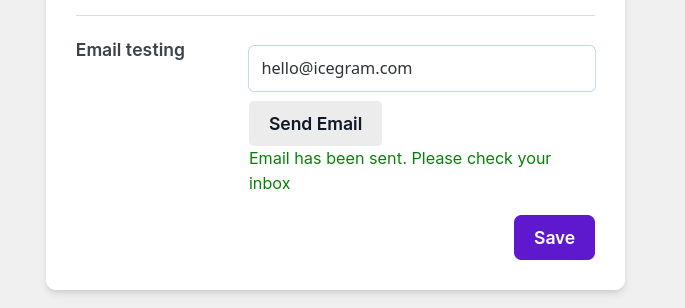
- Send a
Test Emailto admin email address from theIcegram mailer > settings > test emailto confirm everything is working. If the test is successful, you’ll see a green success message.
That’s it! Your emails are now being sent securely and reliably via Icegram Mailer.
To learn more about the Icegram Mailer, Plans and its features, Click here.
How to Configure the Paid Icegram Mailer Service for Sending Emails in WordPress.
Follow these simple steps to enable the Paid Icegram Mailer in Icegram Express:
- Navigate to the Icegram Mailer Pricing Page and purchase your desired plan using your admin email address.
- After purchase, Navigate to your site
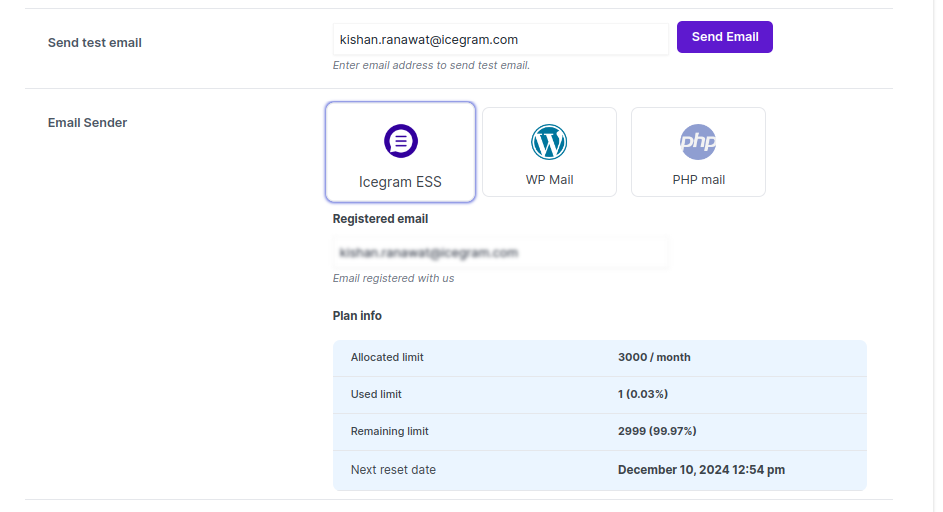
Dashboard > Icegram Mailer > Settingspage. - Enter your configuration details
- Use the
Admin email addressyou used to purchase the Icegram Mailer plan. - Fill in the
Sender Name and Sender Email Addressas you'd like them to appear in your emails. - Enable
Open Trackingto monitor email performance (optional). - Then, click
Save.
- Send a
test emailto admin email adress from the plugin settings to confirm everything is working.
If the email is delivered and your limit has increased – ✅ Icegram Paid Mailer is successfully enabled!
Need Help? If you have any questions or doubts related to Icegram Mailer, feel free to reach out to our support team. We usually respond within 24 hours on working days, or even sooner!
How to Set Icegram Email sending in Icegram Express version older then 5.7.58
Step 1: Navigate to the appropriate page to purchase the Icegram Email sending Service plan.
Step 2: After purchasing the ESS plan, configure Icegram Mailer by going to Express > Settings > Email Sending > Mailer > Icegram Mailer Block.
Step 3: Enter the email address associated with your ESS purchase and save the settings.
Step 4: Send a test email from the plugin to verify if your email sending limit has increased. If it has, congratulations! ESS has been successfully enabled.
ESS has been successfully enabled.