How to configure Mailgun to send emails in Icegram Express?
Mailgun is one of the leading email service providers that can reliably send large quantities of emails. Using Mailgun, you can send 5,000 emails per month for free for the first 3 months of your subscription.
In this guide, we will explain to you how to configure Mailgun to send emails in the Icegram Express plugin.
This feature is available in the MAX version of the plugin
Create a Mailgun Account
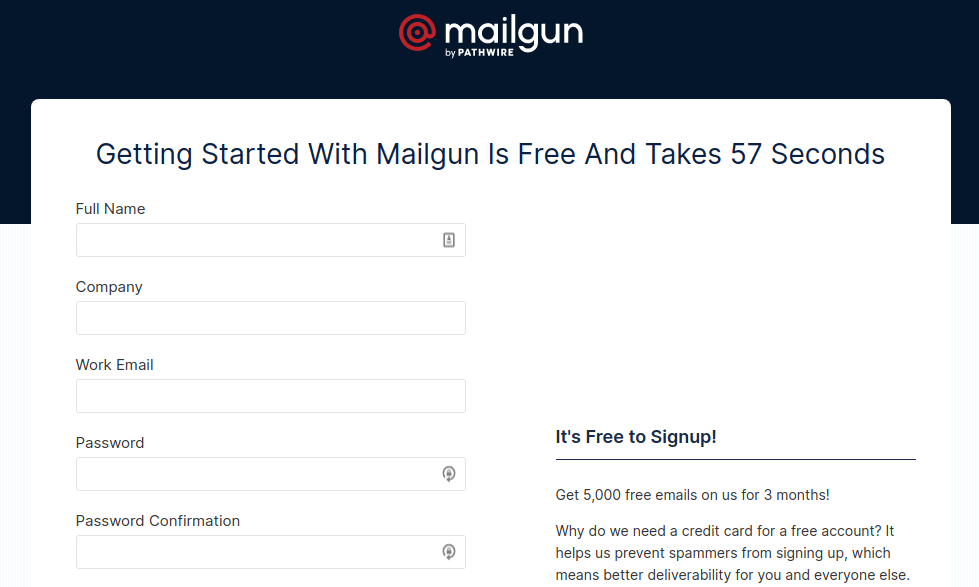
If you don’t already have an account with Mailgun, go ahead and sign up for an account on Mailgun’s website and verify your account.
Note: This setup is free but, you will still be asked to enter a credit card while setting up an account. You can skip this step during signup but you will still need to add the information later on when you add your own domain later in this guide. Providing this information works as an extra verification step and helps Mailgun to reduce spam subscriptions and ensure high deliverability of their emails.
Create a Mailgun Account
If you don’t already have an account with Mailgun, go ahead and sign up for an account on Mailgun’s website and verify your account.
Note: This setup is free but, you will still be asked to enter a credit card while setting up an account. You can skip this step during signup but you will still need to add the information later on when you add your own domain later in this guide. Providing this information works as an extra verification step and helps Mailgun to reduce spam subscriptions and ensure high deliverability of their emails.
Adding a Domain
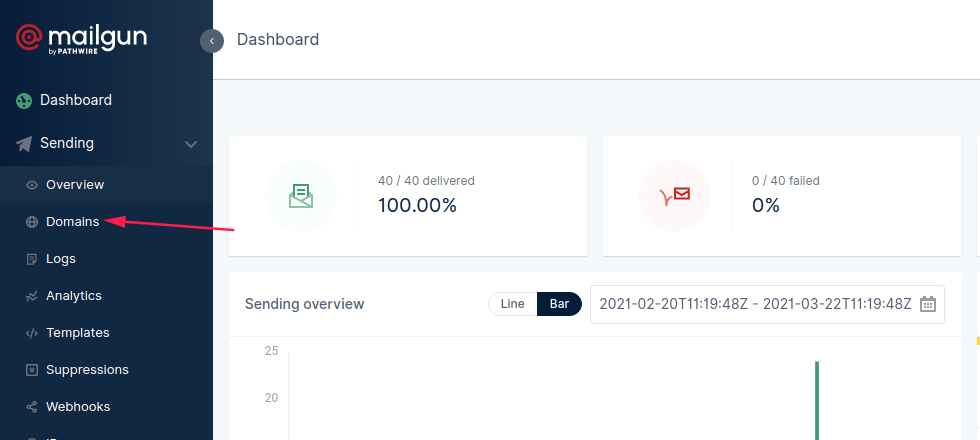
Now, log in to your Mailgun account and go to Sending > Domains in the left menu.
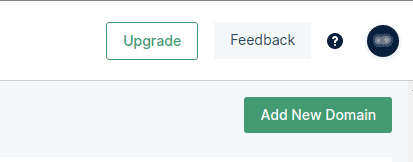
On the Domains list page, click on the Add New Domain button.
Note: If the Add New Domain button is not visible on the page, this likely means that you haven’t yet provided a credit card during the signup process. Mailgun requires all accounts including free accounts to enter a credit card before you can continue.
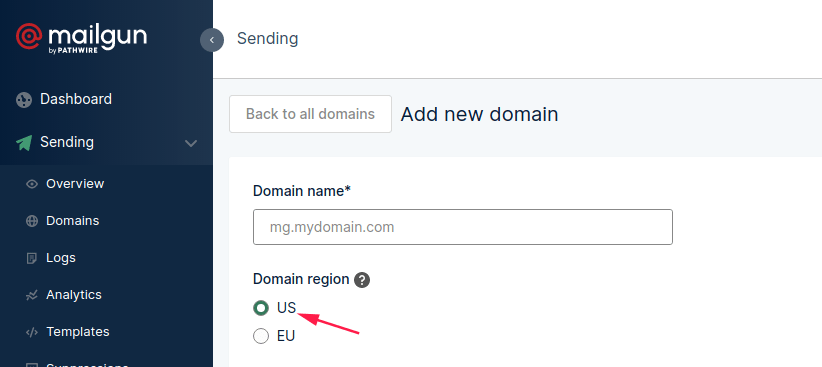
Next, enter a subdomain of your website. A subdomain is an additional part to your main domain name. Subdomains are created to organize and navigate to different sections of your website. i.e. store.yourwebsite.com In this example, ‘store’ is the subdomain
Here the subdomain will be used by Mailgun only to send emails, and will not be visible on your site at all.
You can enter a subdomain such as mail.example.com or mg.example.com. It doesn’t really matter what you name it, but using “mail” or “mg” makes it more clear what the purpose of this subdomain is.
In the next step, you’ll need to choose from two available regions: US or EU. If your website is hosted in the European Union region, then go ahead and choose the EU. If your site is hosted anywhere outside of the European Union region, then leave the default US option.
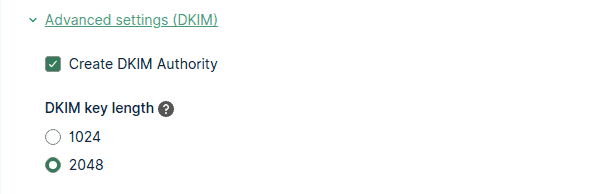
For an extra mode of spam protection, we recommend keeping the Create DKIM Authority box checked.
We also recommend choosing the 2048 option, which creates a longer DKIM Authority key.
As we proceed with the next step, don’t close this tab or window as we’ll return to this page later.
Verify Your Domain
To protect site owners and their visitors, some SMTP services (including Mailgun) require that you verify your domain by adding records to your site’s DNS. You can learn more about the benefits of verifying your domain in Mailgun’s guide.
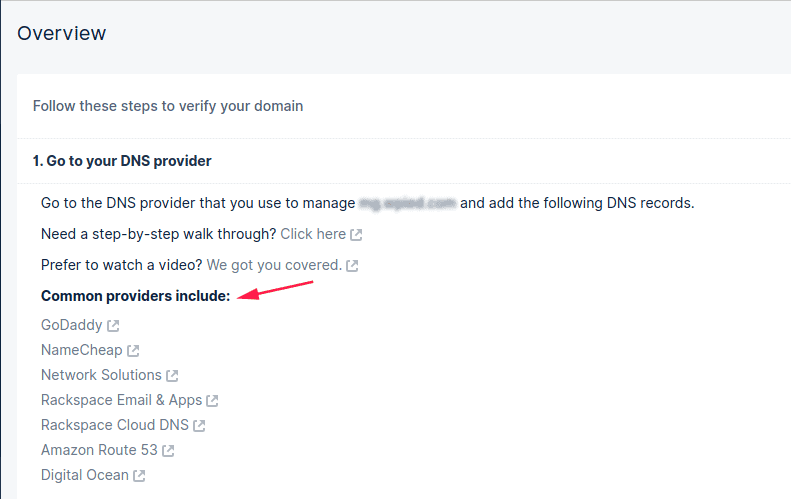
First, you’ll need to open your site’s DNS settings. If you’re not sure how to find these, Mailgun will provide you with some helpful links shown on their setup page when you’re adding a new domain.
Note: If you’re not sure where to find your site’s DNS settings or feel unsure about making changes, please contact your site’s hosting provider before making adjustments. Or for more details on modifying a site’s DNS, you can check out WPBeginner’s tutorial on DNS settings.
Once your DNS settings are open, you should see an option to add a new record.
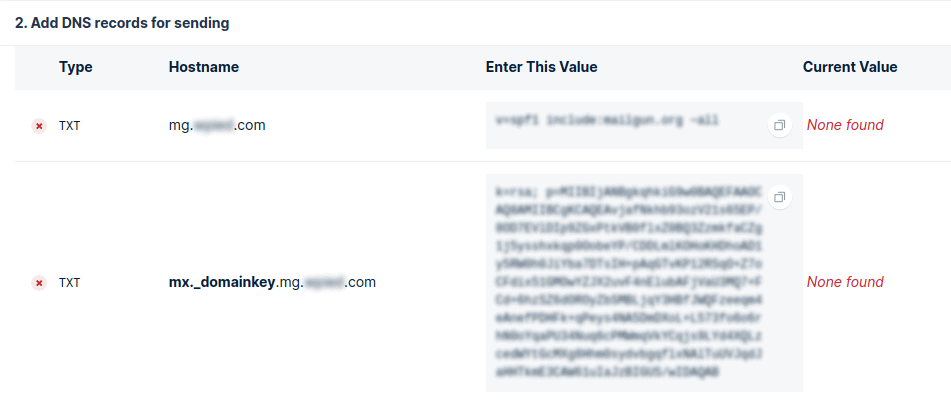
To make it possible for Mailgun to verify your domain, you’ll need to add two TXT records to your site’s DNS settings. Copy them carefully, as you’ll need the exact values from your Mailgun account for the verification to work.
Note: If your hosting provider is GoDaddy, then you will need to slightly adjust the Hostname shown in Mailgun. When entering the Hostname into your GoDaddy DNS settings, you’ll need to remove your normal domain name part. For example, instead of entering mg.yourdomain.com for the first TXT record’s Hostname, you would only enter mg
In your site’s DNS settings you may also see a TTL (Time To Live) field for the record, if you’re provided with a way to change this, we recommend setting the TTL to one day (or 86400 seconds, depending on the units your DNS uses).
Once you’ve added both TXT records, you’ll need to add MX records in exactly the same way. Just please remember that you must do this for the subdomain you created — not for the main domain.
Now that you’ve added both TXT and MX records, your DNS settings are all set.
Note: Mailgun will also show you a CNAME record, however you can ignore this as it’s not relevant when using Mailgun only to send emails.
Check your Mailgun Domain Verification Status
Now, Mailgun will need to check that your domain has required DNS records for verification. This verification process can take a while (sometimes 24-48 hours) because DNS records may take some time to propagate.
You can check the status of your domain verification at any time by visiting the Domains page in your Mailgun account. Once Mailgun has verified the DNS changes you made, it will show an active status next to your domain name.
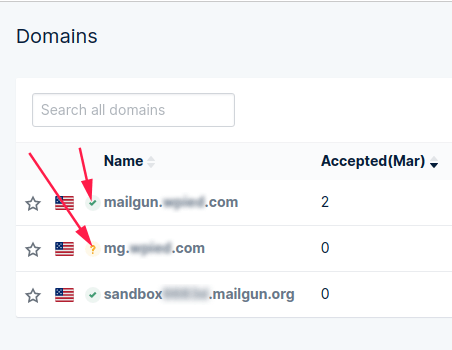
However, there’s no need to wait on this step just yet! You can move ahead to the next step while the verification process gets completed.
Configuring Icegram Express to Send Emails
Now that you’ve set up your DNS, you can prepare Icegram Express to start using Mailgun for sending emails.
- Install and activate PRO version of the Icegram Express plugin
- Navigate to Icegram Express > Settings page
- At the top of this page, you can set the From Name and From Email. By default, these will be filled with your site’s name and admin email.
For the From Email, you can use any valid email address. However, for best results we recommend using an email address associated with your domain(ie. example@yourwebsite.com).
- Now click on the Email Sending tab and scroll down to the option Select a mailer to send mail and click on Mailgun as the mailer.
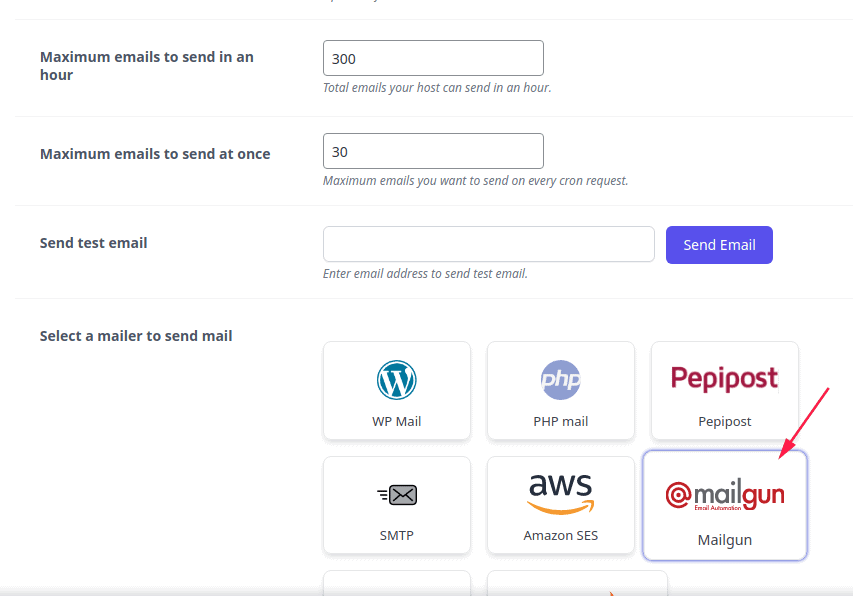
- Now that you’ve selected Mailgun as your mailer, a new Mailgun section will appear below the Mailers list. Here, you’ll need to enter API and domain information.
Private API Key
Even if your domain is still in the verification process, Mailgun will provide a private api key to use. You may even have automatically received it through an email containing your API key, else you can return to the tab or window with your Mailgun domain details.
In the upper right corner of your Mailgun account, you’ll need to click on the small circle with your initials. Then, click on the API keys option.
This will take you to a page that includes your API key. Click on the eye icon to view your full API key.
Once you’ve copied the key, return to the Icegram Express settings and paste it into the Private API Key field.
Note: If your Mailgun account is old, you may see a prefix key- before your key. Be sure to copy this prefix as well and add it to your Icegram Express settings, otherwise leaving this out will cause issues with the verification process.
Domain Name
For the Domain Name field, enter the subdomain you created in Mailgun (for example, mg.example.com).
Region: Last, you’ll need to check the Region setting. This should match what you set up in Mailgun (anyone outside of the European Union should select the US option).
Once this information is added, click on the Save Settings button at the bottom.
Sending a Test Email
Once your domain is verified and your settings have been added to Icegram Express, it’s important to send a test email to ensure that everything is working as expected.
You can try sending a test email from the option provided just above Select a mailer section.
You can enter any email address that you have access to and click the Send Email button.
After sending the email, you should see a success message.
If you check the inbox for that email address, you should receive the email for this test.