How do I send Abandoned Cart Recovery emails?
Abandoned Cart Recovery workflow is one of the key features of Icegram Express plugin. With this, you can set reminder emails for the customers who add products to their cart but leave without completing the order. This feature is available for both logged-in users as well as guest (not logged-in) users and it can help you in increasing sales by completing those orders.
When is a cart considered ‘abandoned’?
Carts will be considered abandoned if they are inactive for 10 minutes either by logged-in or guest users.
For logged-in users, it works when the user adds the product in the cart and leave it as it is.
For guest users, it works after the customer has entered their email on the billing details of the checkout page but haven’t completed the payment.
Steps for creating the workflow
Make sure you have the latest versions of WooCommerce and Icegram Express MAX installed and activated on your setup.
WooCommerce and Icegram Express MAX →- Navigate to
Icegram Express > Workflows > Add New.
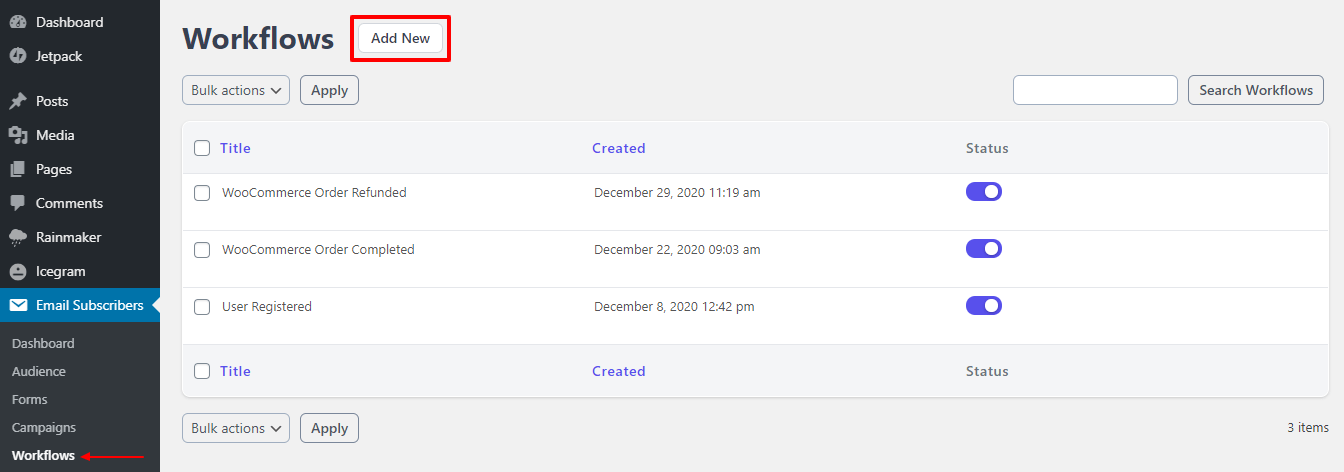
- Add a title for the workflow.

Workflow Title
Under the
Triggersection, you can select one of the below options. When you select a trigger, you are telling the plugin that you need to do something when the cart is inactive for 10 mins.a. Cart Abandoned: Registered Users Only
b. Cart Abandoned: Guests Only
c. Cart Abandoned (This is a common trigger for both Registered as well as Guest users. Select this if you want to notify both types of customers)

Cart Abandoned Trigger
- Click on
Add actionbutton and selectSend Emailaction from the options to instruct the plugin that you need to send an email to those customers when the cart is abandoned. ( You can add as many actions as you want in the same workflow as per your requirement Eg. Add to list)

Action – Send Email
- On the right side there is a list of placeholders/keywords that can be used in the email subject and content to personalize the email. They are replaced with real customer data while sending out emails. When you click on a particular placeholder, a popup will appear where you can set a fallback text (alternative text when the actual data is not available) and then copy and paste it where you want to use it. You can do it for all the placeholders that you want to use in the email.
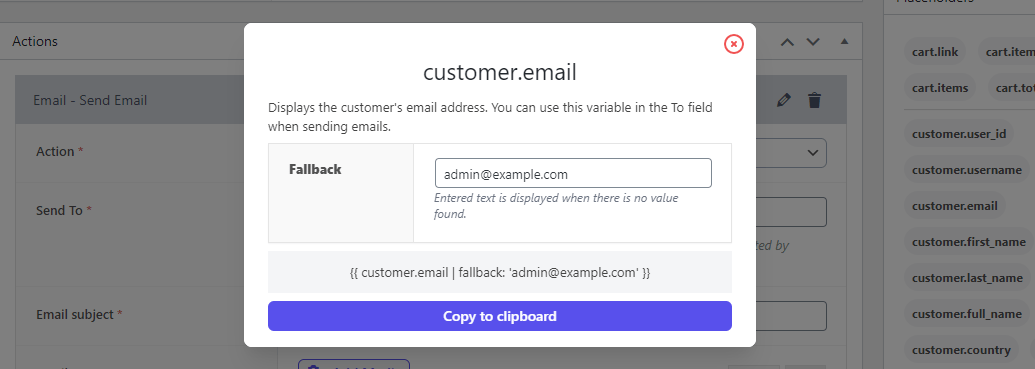 Personalization – Customer Email Placeholder
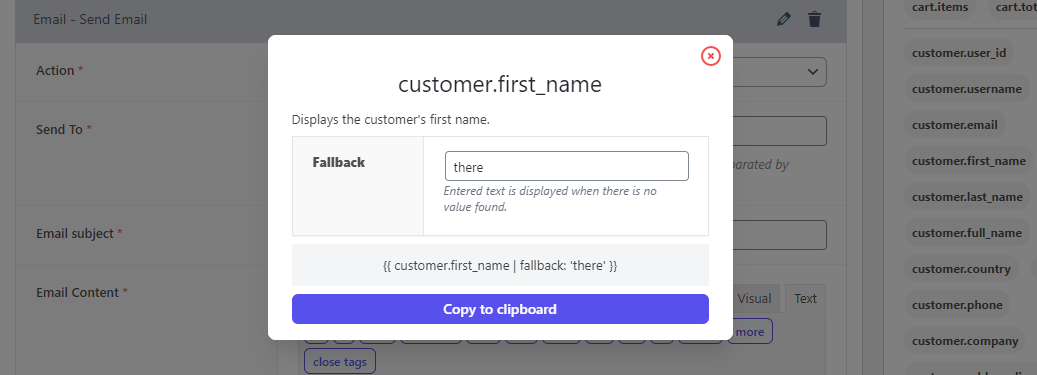 Personalization – Customer Name Placeholder
- In
Send To, you need to choose a list of people that should receive the email. You can copy the placeholders as explained in Step 5 which will be replaced by that particular user’s email address. Along with that, you can also enter a list of specific email address that you want to send email to separated by comma(,)

Target audience
- Now, you can add
Email Subjectand theEmail Contentas per your requirement. You can copy and paste the placeholders one by one as explained in Step 5.
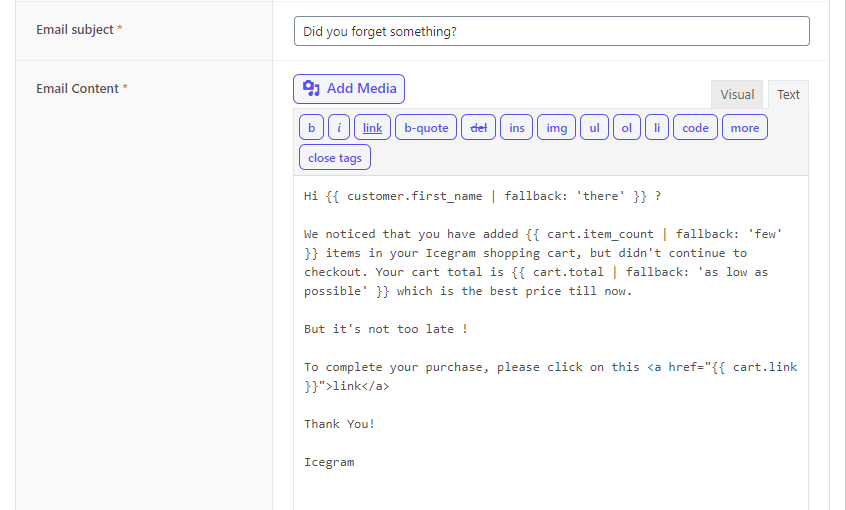
Subject and Message
- Done! Click on
Savefrom the top right meta box to save the workflow.

Save workflow