How to configure SendGrid to send emails in Icegram Express?
SendGrid is a cloud-based SMTP provider that allows you to send email without having to maintain email servers. SendGrid manages all of the technical details, from scaling the infrastructure to ISP outreach and reputation monitoring to whitelist services.
To effectively use SendGrid, you will need to have an email address associated with a domain that you own (emails that are @gmail.com, @yahoo.com, etc are not recommended for use with SendGrid).
In this guide, we will explain to you how to configure SendGrid to send emails in the Icegram Express plugin.
This feature is available in the MAX version of the plugin
Create SendGrid Account
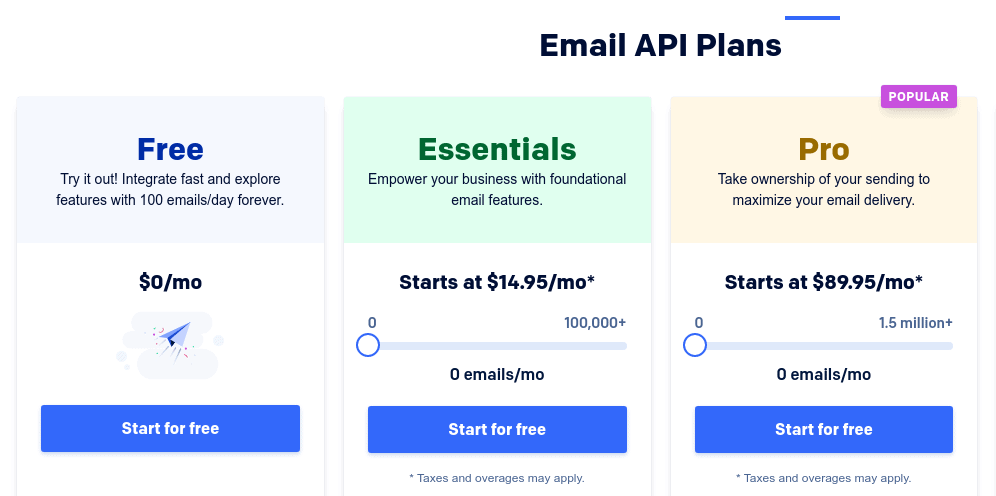
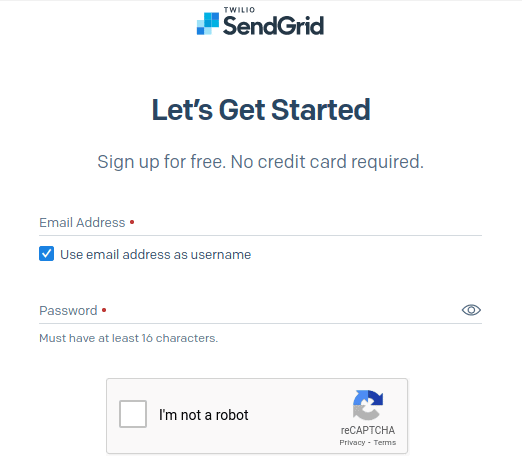
If you do not already have a SendGrid account, create one now. SendGrid offers a free plan for low-volume delivery, which may be useful for users just getting started with email sending.
In the next step, SendGrid will ask you to provide your email address and password to create your account.
Authenticate your domain for sending email
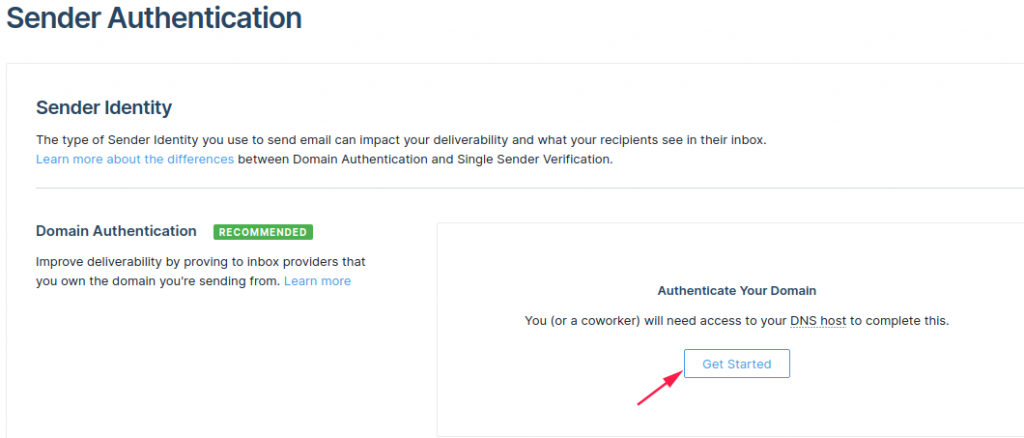
After your account gets created, you will be redirected to your dashboard. Next, you can configure your domain so that it can send emails from SendGrid via your domain. We recommend this step because configuring a domain will show your emails as coming from your domain rather than via sendgrid.net. You can learn more about domain authentication here.
To add your domain, go to Settings > Sender Authentication. In the Domain Authentication section, click on the Get Started button.
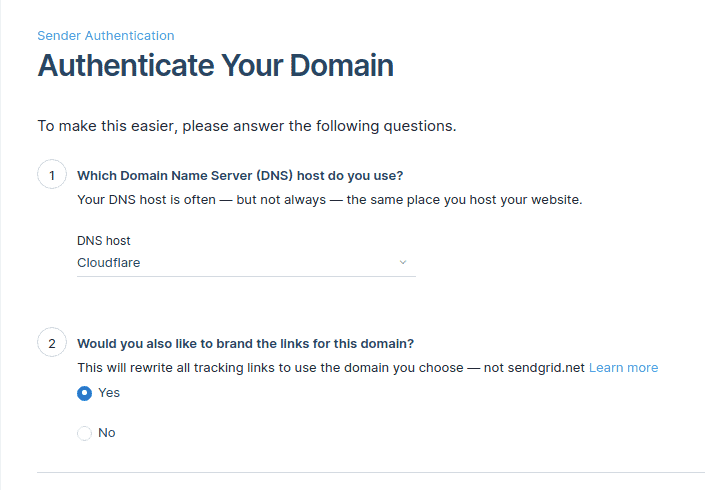
On the next page,
- In the first section, select your DNS host from the available list or Other Host (Not Listed) if you can’t find your host name in the list (In this case you can add your hostname in the Which DNS Host? field).
- In the second section, select Yes so that links in your email will start with your domain instead of sendgrid.net. This step is required so the Icegram Express can track clicks in the sent email.
- Then click on the Next button.
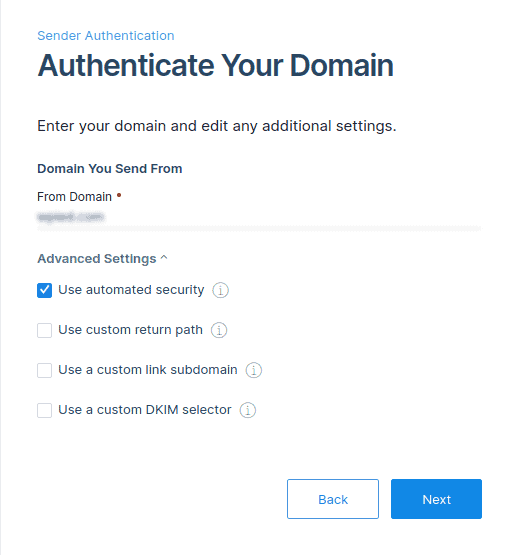
In the next step, enter your domain name from which you will be sending emails and click on the Next button.
On the next screen, you will see a list of DNS records which you will need to add into your DNS settings of your host.
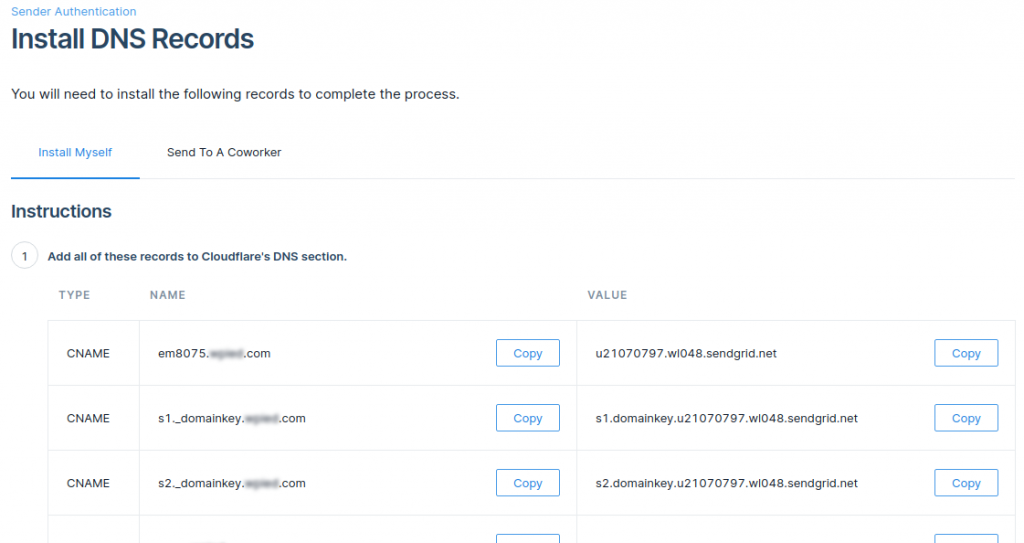
After successfully adding these records, check I've added these records checkbox and click on the Verify button at the bottom.

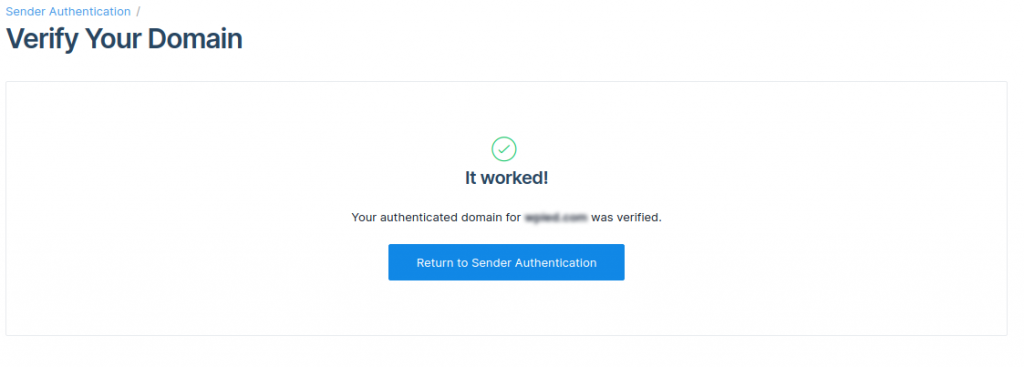
You should see a success message like below after successful verification.
On the Sender Authentication page, now you should see the domain and its verification status.

Create an API key
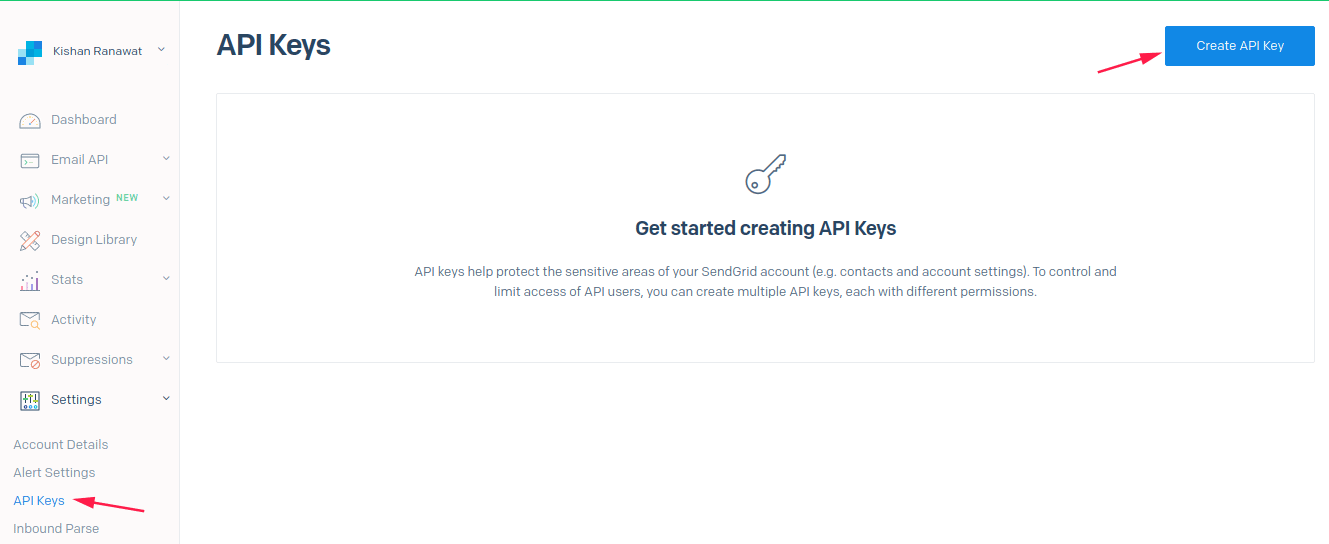
Now go to Settings > API Keys from the dashboard menu and click on the Create API Key.
In the Create API Key popup, add a name like Email Subscribers API Key in the API Key Name field to identify it later.
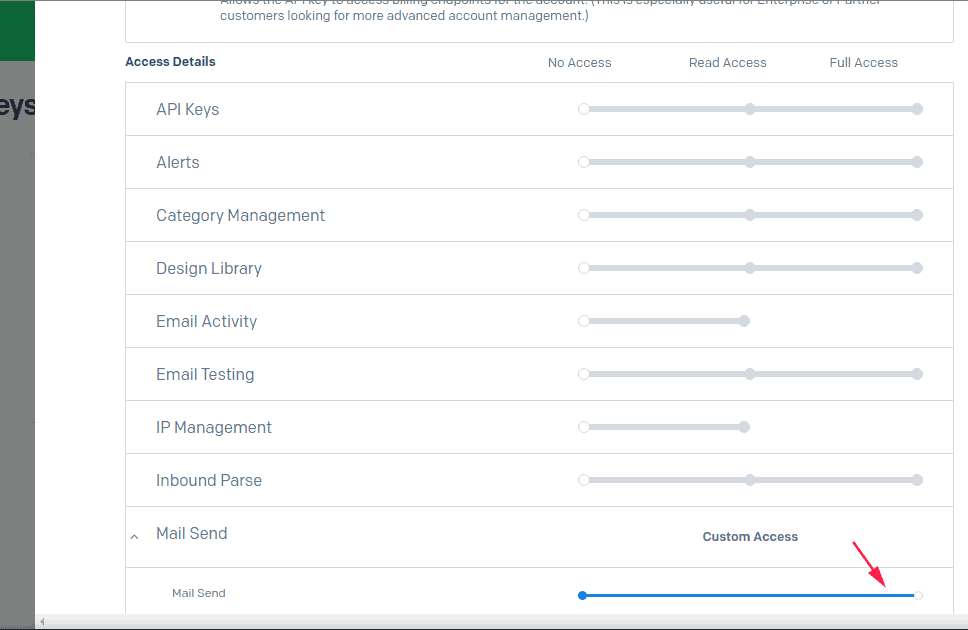
In the API Key Permissions, you can choose Full Access but you basically need below permission to send emails:
Mail Send → Full Access
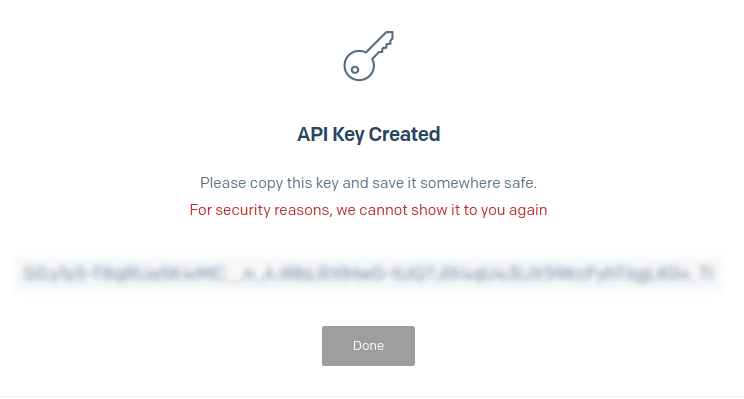
After setting the required permissions and clicking on the Create & View button located at the bottom, you should see a success message like below.
Copy and save the new API key as you won’t be able to see it again later on.
Configuring Icegram Express to Send Emails
Now that you’ve set up your DNS, you can prepare Email Subscribers to start using SendGrid for sending emails.
- Install and activate Max version of the Icegram Express plugin
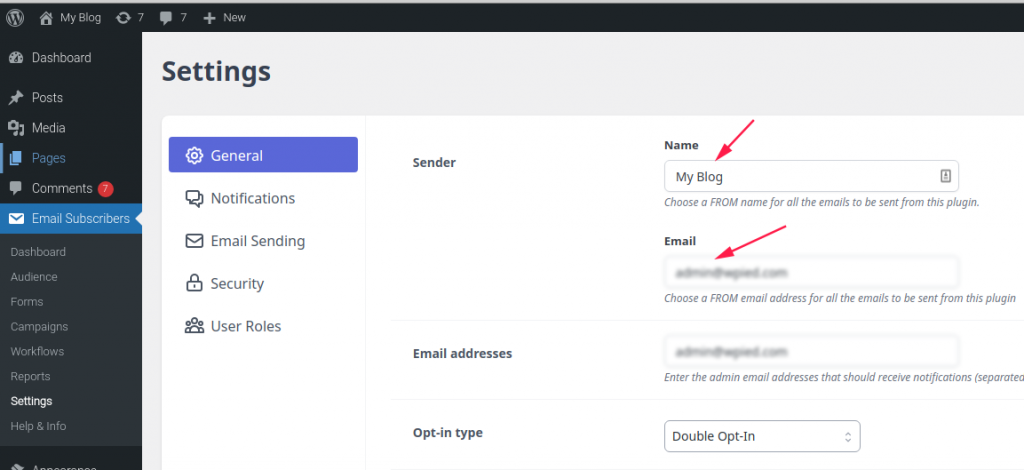
- Navigate to Express > Settings page
- At the top of this page, you can set the From Name and From Email. By default, these will be filled with your site’s name and admin email.For the From Email, use an email address associated with your authenticated domain from Step 3
Now click on the Email Sending tab and scroll down to the option Select a mailer to send mail and click on SendGrid as the mailer. Now that you’ve selected SendGrid as your mailer, a new section will appear below the Mailers list. Here, you’ll need to enter the API created from Step 4
Once this information is added, click on the Save Settings button at the bottom.
Sending a Test Email
Once your domain is verified and your settings have been added to Email Subscribers, it’s important to send a test email to ensure that everything is working as expected.
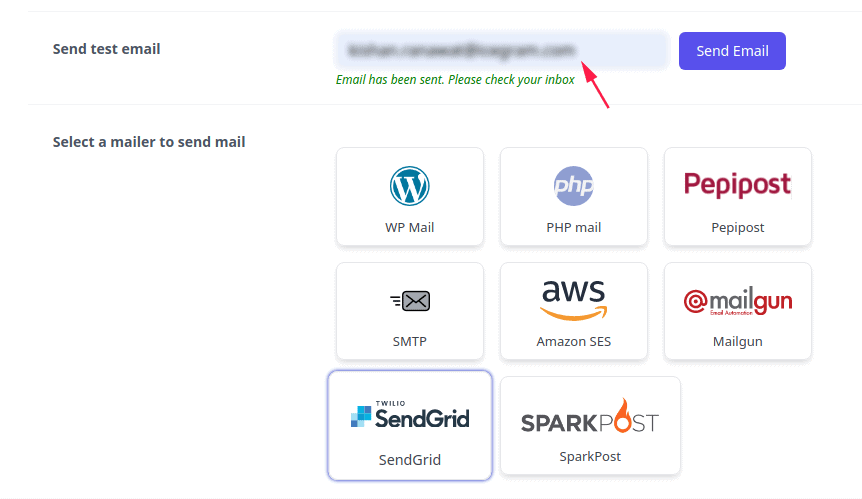
You can try sending a test email from the option provided just above Select a mailer section.
You can enter any email address that you have access to and click the Send Email button.
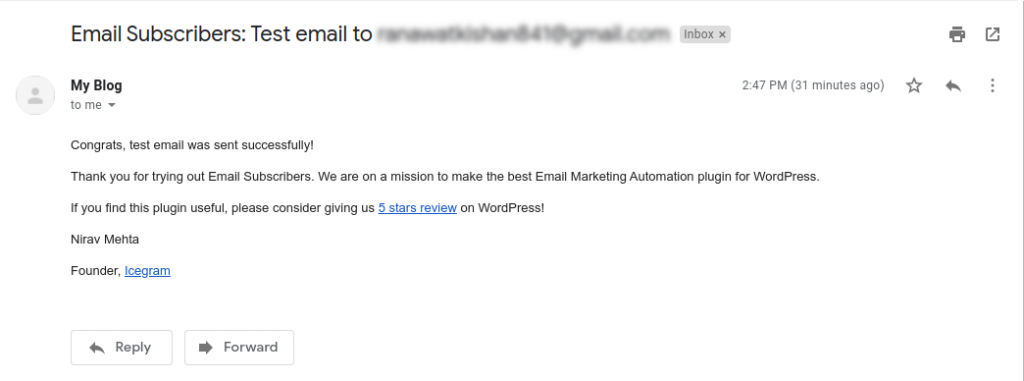
After sending the email, you should see a success message. If you check the inbox for that email address, you should receive the email for this test.